Craving a sweet treat but short on time? I have the perfect solution: a Chocolate Peanut Butter Mug Cake! In just a few minutes, you can whip up this easy, rich dessert that satisfies your chocolate cravings. With simple ingredients and quick steps, you’ll love having a warm treat ready in a flash. Let’s dive into how to make this simple and sweet delight!
Why I Love This Recipe
- Quick and Easy: This mug cake can be made in just 5 minutes, making it the perfect quick dessert for any occasion.
- Decadent Flavor: The combination of rich chocolate and creamy peanut butter creates a delightful indulgence in every bite.
- Customizable: You can easily add your favorite mix-ins, like chocolate chips or nuts, to make it uniquely yours.
- Single Serving: Perfect for when you want a little treat without the temptation of a whole cake sitting around.
Ingredients
List of Main Ingredients
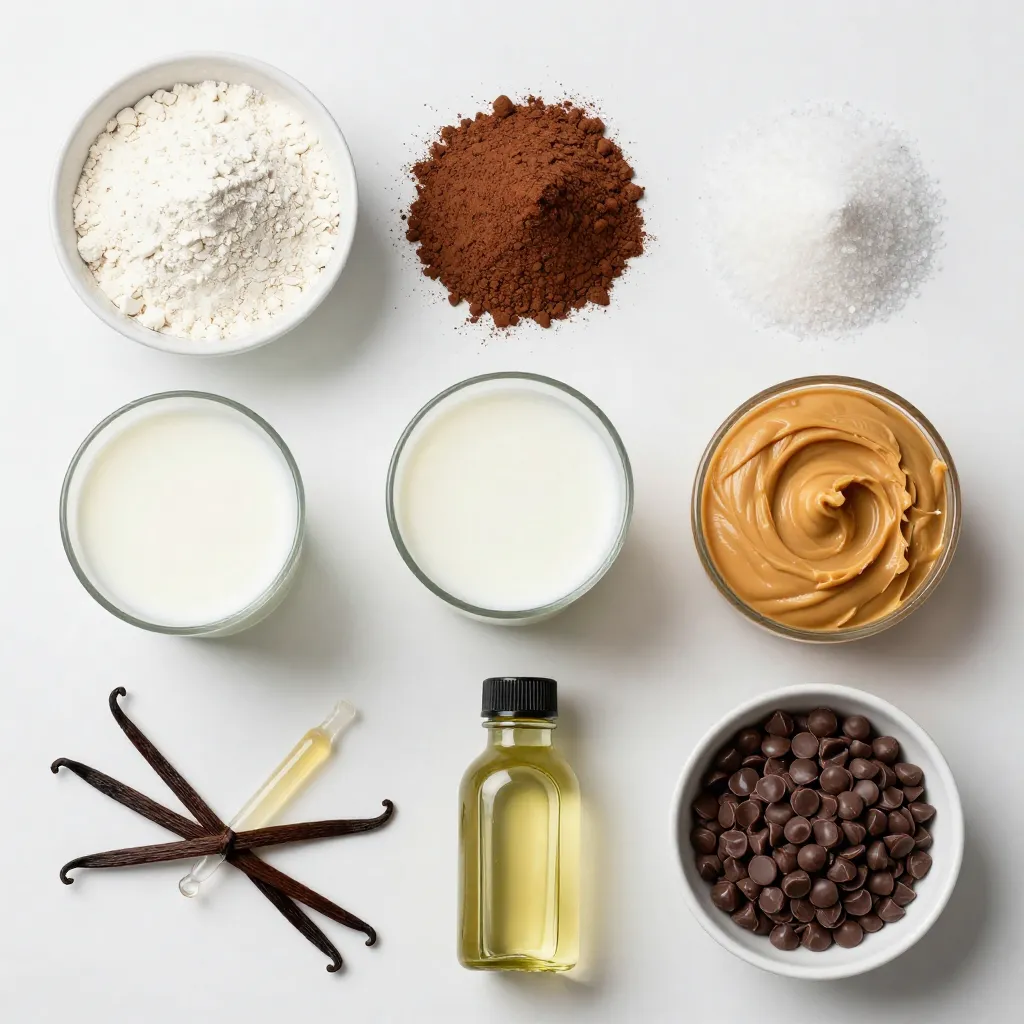
For the perfect chocolate peanut butter mug cake, gather these simple ingredients:
– 4 tablespoons all-purpose flour
– 2 tablespoons unsweetened cocoa powder
– 2 tablespoons granulated sugar
– 1/8 teaspoon baking powder
– A pinch of fine salt
– 3 tablespoons milk (dairy or non-dairy)
– 2 tablespoons creamy peanut butter
– 1 tablespoon vegetable oil (or your choice of neutral oil)
– 1/4 teaspoon pure vanilla extract
Each ingredient plays a key role. The flour gives structure, while cocoa adds rich flavor. Sugar sweetens and baking powder helps the cake rise. The milk makes it moist, and peanut butter adds that creamy delight. Oil keeps the cake soft, and vanilla gives a lovely aroma.
Optional Toppings
To make your mug cake even more special, consider these tasty toppings:
– Whipped cream
– Chocolate syrup
– Mini chocolate chips
– Crushed peanuts
These toppings enhance the flavor and add a fun twist. You can mix and match them based on your mood!
Variations in Ingredients
Feel free to customize your mug cake! Here are some fun ideas:
– Swap all-purpose flour for whole wheat flour for a healthier option.
– Use almond butter instead of peanut butter for a different taste.
– Add a pinch of cinnamon for warmth and spice.
These variations can change the flavor and texture. Experiment to find your favorite combination!
Step-by-Step Instructions
Preparing the Dry Ingredients
First, grab a microwave-safe mug that holds 12 ounces or more. In your mug, add the dry ingredients:
– 4 tablespoons all-purpose flour
– 2 tablespoons unsweetened cocoa powder
– 2 tablespoons granulated sugar
– 1/8 teaspoon baking powder
– A pinch of fine salt
Use a whisk or fork to mix them well. Make sure there are no clumps left. This step sets the base for your mug cake.
Mixing the Wet Ingredients
Next, take a small bowl to mix the wet ingredients. Add in:
– 3 tablespoons milk (dairy or non-dairy)
– 2 tablespoons creamy peanut butter
– 1 tablespoon vegetable oil (or your choice of neutral oil)
– 1/4 teaspoon pure vanilla extract
Whisk these together until the peanut butter blends into the mix. This makes the cake moist and rich.
Combining and Microwaving
Now, carefully pour the wet mix into the mug with the dry mix. Stir gently until just combined. You want to avoid pockets of dry flour. If you like, add a handful of chocolate chips for extra sweetness.
Microwave the mug on high for 1 minute. Keep an eye on it. The cake will rise and look set. If it still seems wet, continue heating in 10-second bursts.
After microwaving, let it cool for about a minute. Add whipped cream or chocolate syrup if you want to treat yourself. Enjoy your simple and sweet chocolate peanut butter mug cake!
Tips & Tricks
Achieving the Perfect Mug Cake Texture
To get the best texture, use the right mug size. A 12 oz mug works great. Mixing the dry and wet ingredients well is key. Don’t overmix; a few lumps are okay. This keeps your cake light and fluffy. Microwave time matters too. Start with one minute. If it looks wet, add 10-second bursts. You want a cake that rises and has a gooey center.
Common Mistakes to Avoid
Avoid using too much flour. This can make your cake dense. Also, don’t skip the baking powder. It helps the cake rise. Be careful not to overheat it. If you cook it too long, the cake can turn dry. Lastly, remember to watch the microwave. Each one cooks differently.
Enhancing Flavor with Mix-Ins
Want to boost flavor? Add chocolate chips for extra sweetness. They melt and mix well with the cake. You can also try crushed nuts for a nice crunch. Another option is to swirl in more peanut butter. This gives you a rich, creamy bite. Don’t be afraid to get creative!
Pro Tips
- Use a Larger Mug: Opt for a 12 oz or larger mug to prevent overflow as the cake rises during cooking.
- Customize Your Flavors: Experiment with different nut butters or add a sprinkle of cinnamon for a unique twist.
- Check Microwave Settings: Microwaves vary in power; start with 1 minute and adjust in 10-second increments as needed.
- Let It Cool: Allow the mug cake to cool for a minute before serving to enhance the flavor and texture.
Variations
Healthier Alternatives
You can make this chocolate peanut butter mug cake healthier with a few swaps. Use whole wheat flour instead of all-purpose flour. This adds fiber and nutrients. You can also swap out sugar for a natural sweetener like maple syrup or honey. Use less peanut butter to cut fat, or opt for a low-fat version. You could try unsweetened applesauce in place of oil.
Different Flavor Combinations
Mixing flavors can make your mug cake fun and unique. Try adding a sprinkle of cinnamon for warmth. You can even use almond butter instead of peanut butter for a nutty twist. How about adding a banana? Mash it up and mix it in for extra moisture. You could also add a few berries for a fruity burst.
Serving Suggestions
Serving your mug cake can be just as fun as making it. Serve it warm in the mug for a cozy feel. Add a scoop of vanilla ice cream on top for a cold treat. Drizzle some chocolate syrup or caramel sauce for a sweet finish. You can also add whipped cream or sprinkle some chopped nuts on top for crunch. Enjoy it with a cup of coffee or tea for a delightful snack.
Storage Info
Best Practices for Storing Leftovers
To store your chocolate peanut butter mug cake, let it cool first. Place it in an airtight container. Keep it in the fridge for up to three days. If you want to keep it longer, freezing is a great option. Just remember, the texture may change a bit after thawing.
Reheating Instructions
When you’re ready to eat your leftover mug cake, you can reheat it. Place it in the microwave for about 10 to 15 seconds. Check if it’s warm enough. If not, heat it in short bursts until it feels just right. This keeps it soft and tasty.
Freezing Options
Freezing the mug cake is easy. Wrap it tightly in plastic wrap or foil. Then, place it in a freezer-safe bag. It can stay in the freezer for up to a month. When you want some, let it thaw in the fridge overnight. Then, reheat it as mentioned above. Enjoy your sweet treat anytime!
FAQs
Can I make this mug cake dairy-free?
Yes, you can make this mug cake dairy-free. Use non-dairy milk like almond or soy. The peanut butter is also dairy-free, so it fits well. Just swap the regular milk for your choice. This way, you can enjoy a tasty treat without dairy.
What type of mug works best for this recipe?
For this recipe, a 12 oz or larger microwave-safe mug works best. This size gives the cake room to rise. A ceramic or glass mug is ideal. Avoid using metal mugs, as they can spark in the microwave. Make sure the mug is also thick enough to handle the heat without cracking.
How do I know when the mug cake is done cooking?
To check if the mug cake is done, look for a nice rise and a set top. The center should be slightly gooey but not wet. If the top looks shiny or wet, give it another 10 seconds in the microwave. Keep an eye on it to prevent overcooking. Once it’s done, let it cool for a minute before digging in!
This blog post covered all you need to make a great mug cake. We explored key ingredients, optional toppings, and fun variations. I walked you through step-by-step instructions to achieve perfect texture and flavor. We also shared tips on storing leftovers and answered common questions.
Now you can enjoy a quick treat anytime. Experiment with flavors, and don’t be afraid to get creative! Happy bakin